Contents
- Index
Adding a Tour
1. Open the Add/Copy Tour Form
a. Click on the New Tour button, OR Keystroke Alt+O from the Quick Access menu

b. Click on the Add button next to word "Tour" on the Switchboard Menu

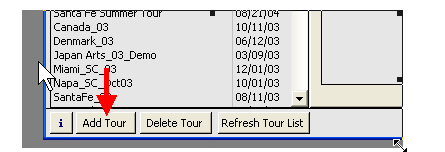
c. Click on the Add Tour button, located at the bottom left of the Tour Form.
2. The Add/Copy Tours Form opens:
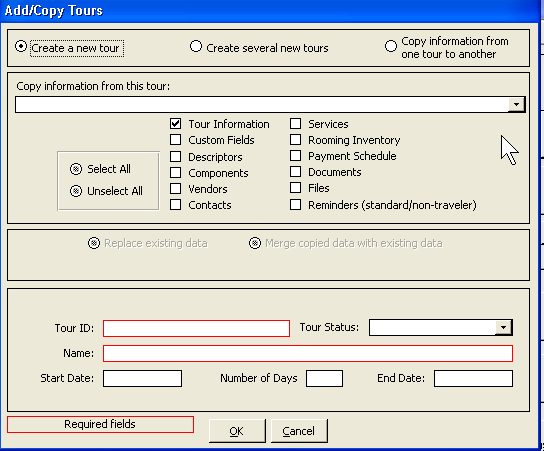
3. You may create several tours at one time by clicking in the radio button at the top of the form.
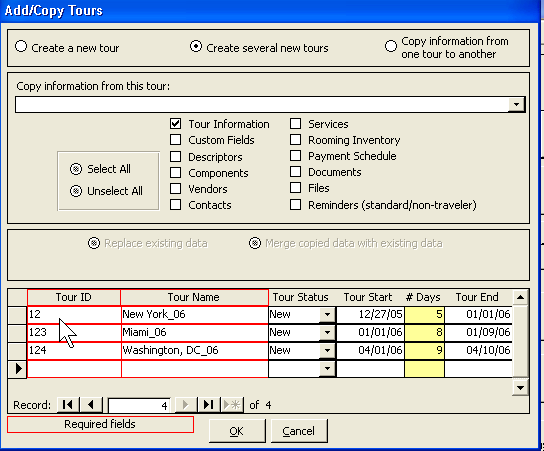
4. Complete the fields at the bottom of the form:
a. Tour ID: a combination of letters and/or numbers. The user creates this and it must be unique, or ViaTour will give you an error message and tell you it is not unique.
b. Tour Name: enter brief name for in-house use (this is usually different from the Brochure Name). Names with fewer than 20 characters fit best on forms and reports. Forms will list Tour Names in alphabetical order, within each calendar year. (See Tour Naming )
c. Tour Dates: ViaTour forms look at tour dates for sorting the tour name list. If you do not know exact dates enter "fake dates." Perhaps use the same start and end date to signify this tour's dates are provisional or not yet decided.
5. You may also Copy Existing Data from another tour, if applicable. Date-sensitive data such as reminders and services are adjusted automatically based on time from tour start date.
Note ViaTour "copy rules" the following kinds of data:
Tour Components
Tour Services
Tour Documents
Tour Payment Schedules
Tour Reminders .
6. Complete data for each of the Tour Tabs.
Related Topics:
Adding an Ad Hoc Tour