Contents
- Index
Adding, Editing and Deleting Look Up Codes
1. Click on the System Maintenance button on the bottom of the Quick Access and Switchboard Menu
2. Click on View/Edit Look up Codes
3. The Edit/Enter Look up Form opens and you can select from the code field what you want to view:
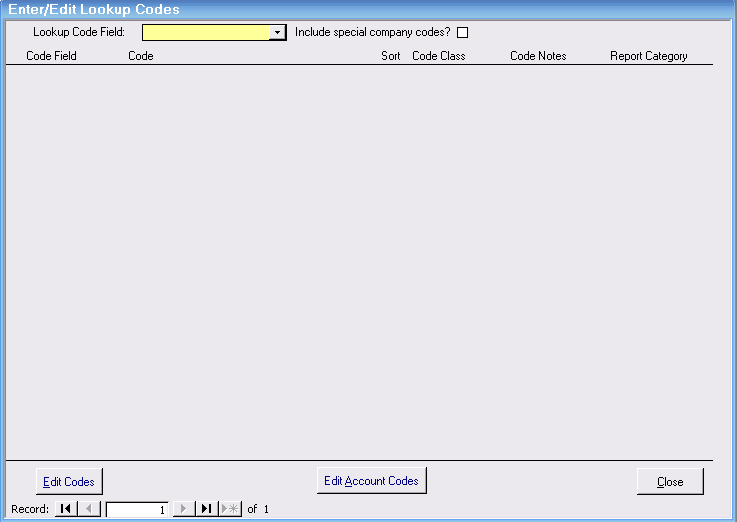
4. To edit Click the Edit Button. (If needed, see your System Administrator for access.) Table Turn White.
5. Adding: You can add new values by clicking on the *arrow button on the record bar:


NOTE: Please refer to field definitions below to understand how to fill out (if you need to) the other fields,
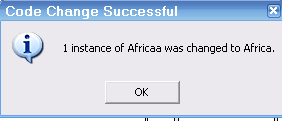
6. Changes to a value assigned in the data tables will cascade to those fields. After you "tab" out of the changed cod field you will see a success message - click "OK".
7. Deleting: You can only delete values that are not assigned in a table, but here is a sample work around:
I have two descriptors Africa and Africaa assigned in my data. I can't delete "Africaa" because it is assigned. However, I can
1. Put my cursor in the CODE that is misspelled and change it to Africa
2. Tab to next field - which will cascade the change (All records that were Africaa will change to Africa)
3. I can not tab off the row, because the table can't have two identical rows (Africa already exists) - so hit your escape key (undoes change to record and makes Africa to Africaa)
4. Now I can delete it because Africaa is not assigned din the data anymore. (To delete select the box at the end of the row so it turns black and the arrow turns white. Click on the delete key on your keyboard.)
& Field Definitions for Look up Codes
Code field: category code refers to, where the code appears, what it describes
Code: the code, text or word, used on forms and in reports
Description: this field is for your own reference, to define the code's meaning (Confirmed= deposit received)
Sort if left "null" or zero, sort will be alphabetical. If user prefers to indicate a sort order, enter numbers.
Code Class, this is different for different fields and users should not edit this category as it has repercussions in reports. Please check with ViaTour staff, first. The exceptions are:
Mailing List Code Class: Default means the field will automatically filled in. You may assign the code class "default" to the name of a mailing list you want all travelers assigned to automatically. (The system comes preset so addresses default to "home" address. You can change this.)
Reservation Status Code Class: confirmed means this assignment to a reservation status means that status will be included on these reports: room list, name badge, lists of travelers and so on.
Reservation Code Class: unconfirmed means this reservation status is not assigned to the reports above, but can be identified as reservations nonetheless.
Relationship Code class: in order to have ViaTour auto add a reciprocal relationship, the reciprocal relationship must appear in code class. There fore if your code is "parent" the reciprocal is "Child". Others would be Spouse/Spouse, Cousin/Cousin, et cetera. Note your codes are easier to maintain if you use siblings versus Brother. Brother can be Brother/Brother or Brother/Sister.
TxMedia: If you will be running a Special Query to clear out credit card in formation, the Special Action Query to delete credit card number stored in Media detail is looking in the Media field for these values: "MC","Visa","AMEX","Diners","Discover","other". If your organization has renamed these in the look up code table, you will need to revise the sequel statement (or ask our developer to) so you capture the appropriate transactions.
Company Deafult export Paths: to set your own defaults see Company Default Export Path for Excel and Text Exports.